Physical Address
304 North Cardinal St.
Dorchester Center, MA 02124
Physical Address
304 North Cardinal St.
Dorchester Center, MA 02124

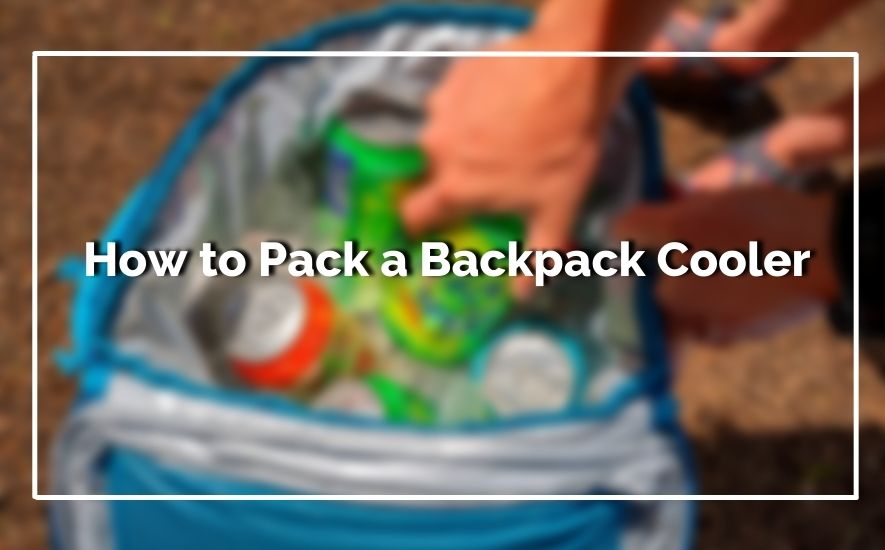
When it comes to embarking on outdoor adventures or enjoying a leisurely picnic, a backpack cooler proves to be an indispensable companion. A well-packed backpack cooler ensures that you have easy access to refreshing beverages, snacks, and perishables while on the go. Efficiently organizing your backpack cooler guarantees that your items remain cold and readily available, enhancing the overall experience of your outing.
How to Pack a Backpack Cooler? Efficiently packing a backpack cooler involves smartly arranging items to maximize space and keep contents cold. Consider cooler size, item sequence, and ice distribution for an optimal experience.
From selecting the appropriate cooler size and considering the sequence of packing to optimizing ice distribution, several factors contribute to mastering the art of packing a backpack cooler. By following a few practical steps, you can strike the right balance between optimal space utilization and maintaining the desired temperature for your provisions.
Gather all the items you plan to pack – from beverages and snacks to perishable food items. Consider pre-chilling your drinks and freezing perishables to maximize cooling efficiency. Group similar items together to make packing and unpacking more convenient.
Begin by placing a layer of ice packs or frozen gel packs at the bottom of your cooler. This creates a cold foundation for your items. Place delicate or easily squished items on top of the ice packs. Utilize the cooler’s compartments or separate containers to prevent items from shifting and getting crushed during transit.
Efficiently use the available space by placing taller items vertically and compact items horizontally. Roll up or vacuum-seal bulky items to save space. Fill any gaps with additional ice packs or crumpled newspaper to minimize air pockets, which can lead to faster temperature loss.
Maintaining a consistent temperature is crucial for food safety. Keep perishable items away from the cooler’s opening to minimize warm air exposure. To further enhance insulation, cover the top layer of items with a thick towel or blanket before sealing the cooler.

The size of your backpack cooler plays a pivotal role in determining its usefulness. Consider your intended use – will you be using it for a solo hike, a weekend camping trip, or a family picnic?
Opt for a size that strikes the right balance between capacity and portability. Too small might leave you wanting more space, while too large could be cumbersome to carry. A cooler with multiple compartments can be a smart choice, allowing you to organize your items effectively and keep them chilled.
Look for advanced cooling technologies that ensure your food and beverages remain cold for an extended period. Insulated materials like high-density foam and modern cooling gels are excellent options.
Thermal efficiency is vital to prevent your ice from melting too quickly, especially in hot weather conditions. Don’t hesitate to inquire about the cooling technology used in the backpack cooler you’re eyeing.
Durability is another aspect not to be overlooked. The last thing you want is a backpack cooler that wears out after a few uses.
High-quality materials like rugged nylon, reinforced stitching, and robust zippers can ensure your investment lasts through numerous expeditions. Reinforced seams and leak-proof linings are features that can prevent unwelcome messes.
Comfortable straps and a well-padded back panel can make a world of difference during long treks. Adjustable and padded shoulder straps distribute the weight evenly, reducing strain on your shoulders.
Additional features such as exterior pockets, bungee cords, and attachment points offer convenience by providing easy access to essentials like utensils, napkins, and even trekking poles.
Consider specialized features that align with your specific requirements. Some backpack coolers come with removable liners for easy cleaning, while others have integrated bottle openers for added functionality.
Waterproof and water-resistant models can safeguard your supplies in case of unexpected rain. Think about what features will enhance your overall experience and cater to your outdoor activities.

Imagine your cooler as a miniature ecosystem, with varying temperature zones. Proper ice pack placement involves recognizing these cool zones and hot spots. The bottom of the cooler tends to be cooler, making it perfect for items that are sensitive to heat.
Delicate fruits, dairy products, and meats are best kept in this zone. On the other hand, the top portion of the cooler may experience more heat, suitable for beverages and items that can tolerate slightly higher temperatures.
Creating a buffer between your perishables and the ice packs can prevent freezing and soggy disasters. Placing a layer of towels or a cardboard barrier between your items and the ice packs helps to regulate the temperature and prevents direct contact, avoiding freezing and maintaining a consistent chill.
Maximize the cooling potential of your ice packs by employing a Tetris-like precision in packing. Utilize every inch of space by strategically placing ice packs in the gaps between items. This ensures a snug fit, minimizing air pockets and maximizing cold distribution. Remember, a well-packed cooler is an efficient cooler.
If your cooler has multiple compartments or shelves, embrace the adventure of stacking. Place ice packs strategically on different levels to ensure an even distribution of cold air. This method is especially useful for extended trips when your cooler is filled to the brim. Layering ice packs throughout keeps your contents evenly chilled, regardless of the cooler’s depth.
When it comes to prolonged freshness, the placement of your ice packs during your trip matters just as much as when you initially pack. As you use up items, shift the remaining ice packs to occupy the spaces left behind. This prevents warm air from filling the voids and maintains the desired temperature until your last snack is savored.
In summation, mastering the art of packing a backpack cooler entails a delicate dance between practicality and creativity. As you embark on your next adventure, remember that this isn’t merely a mundane task; it’s an opportunity to compose a symphony of flavors, a tapestry of convenience.
So, layer your items like a skilled painter adding depth to a canvas, prioritize perishables like precious gems, and seal the deal with a flourish of ice packs.
With each zipped enclosure, you’re crafting a sensory journey that transcends the mere act of packing. Happy trails, intrepid traveler, and may your backpack cooler be a vessel of chilled delights and fond memories.
When it comes to packing a cooler bag, a little bit of strategy can go a long way in keeping your contents chilled and organized. Start by placing a layer of ice packs or loose ice at the bottom of the cooler bag. This provides a solid foundation for maintaining the cool temperature.
Next, arrange your pre-chilled items, like beverages and food, on top of the ice. It’s like giving your essentials a comfy ice blanket to snuggle on.
The age-old debate of ice placement – should it be on top or bottom? The key here is insulation. Opt for placing the ice packs or ice blocks at the bottom of the cooler. This method lets the cold air travel upwards, keeping your items consistently cool. Remember, we’re creating a cooling ecosystem there!
Efficiency is the name of the game! To ace the cooler-packing game, follow these steps. First, put the heavier items, like bottles and jars, at the bottom. They act as anchors. Then, place delicate items on top – fruits, veggies, and bread. Create layers, maximizing space while preventing crushing.
Keep items that you’ll need frequently on the top layer for easy access. Lastly, top it off with ice packs, and voila, you’ve orchestrated a cool symphony inside your cooler!
Yes, you absolutely can put ice in a cooler backpack! These modern marvels are designed with waterproof, leak-resistant materials, allowing you to confidently add ice. Remember, though, to use ice packs or sealed bags of ice to prevent any unwanted leaks.
And, as always, placing the ice at the bottom ensures efficient cooling by allowing cold air to rise and envelop your refreshments.